SPRESENSEでEthernetを使う
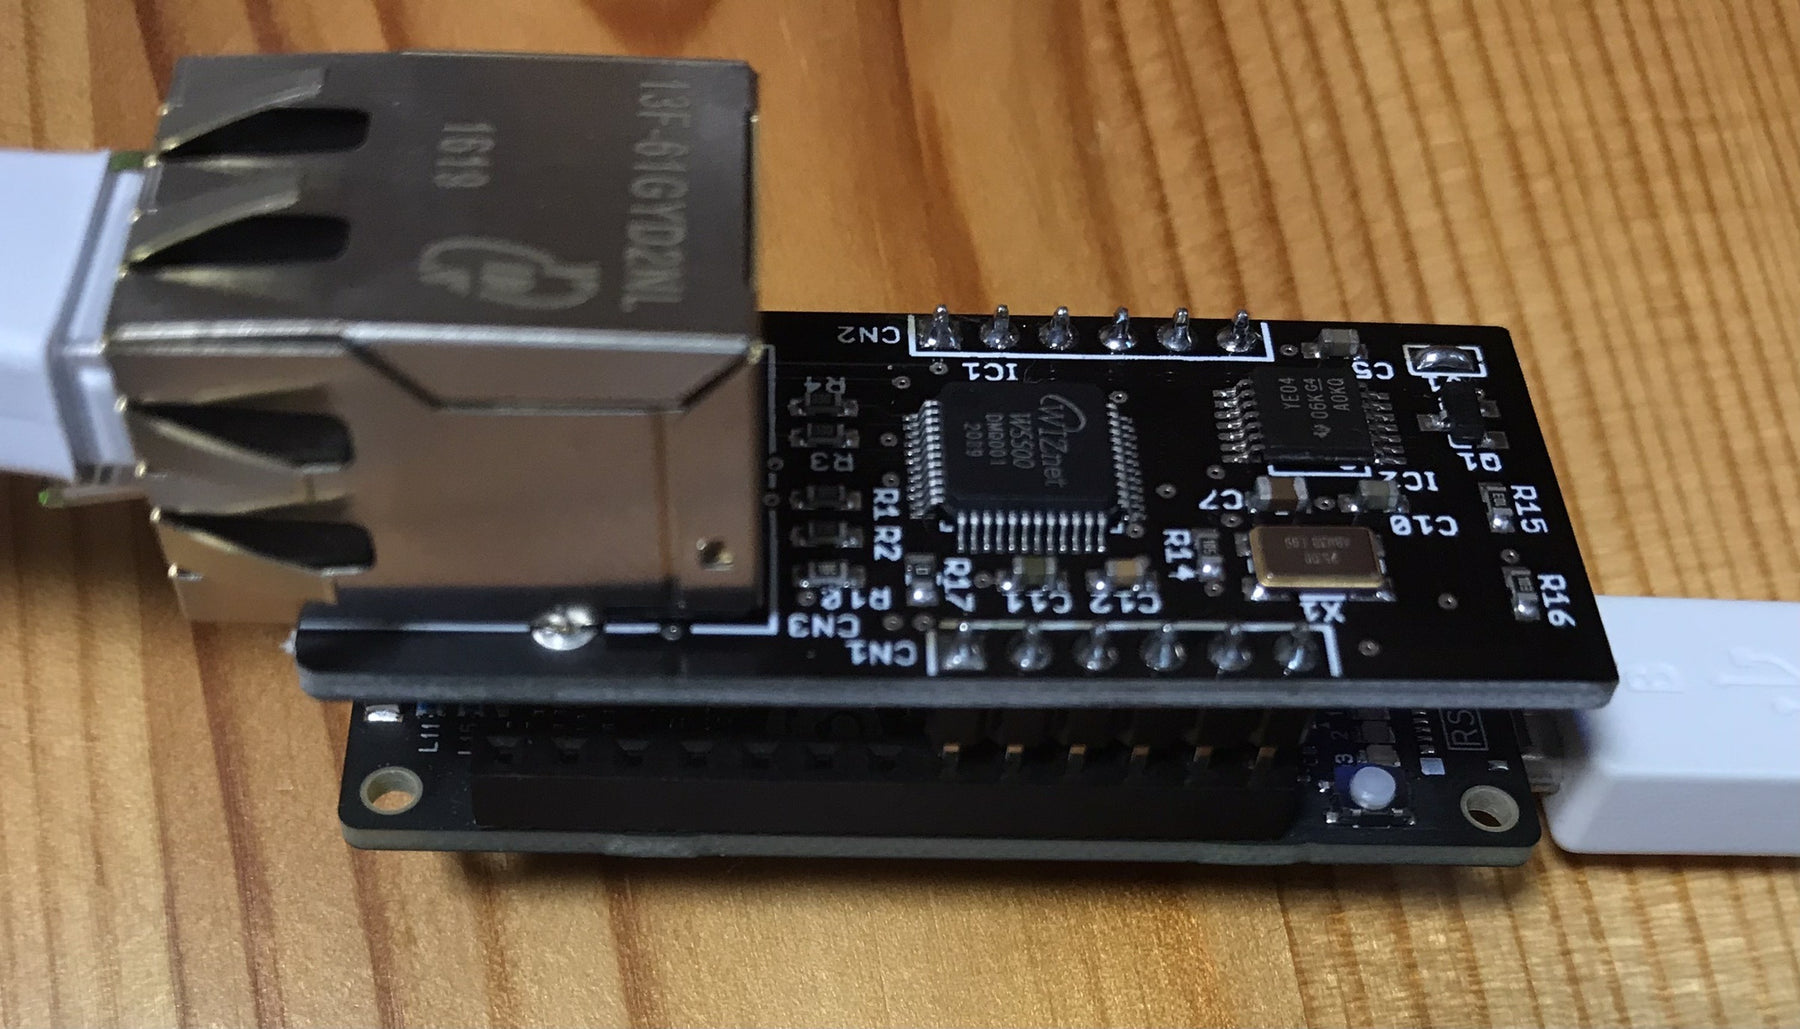
スイッチサイエンスの入江田です。新商品の「SPRESENSE_Ethernetアドオン」の使い方を解説します。
商品リンク
参考情報
https://qiita.com/baggio/items/650eeb2a80875afed07e
接続状態

Arduino IDEのバージョンについて
現在、Arduino IDE 2 または Arduino IDEがあり双方で動作します。
WindowsでArduino IDE(v2)のインストールには
コマンドプロンプトまたはPowerShellから以下のコマンドでインストールできます。
winget install ArduinoSA.IDE.stable
Etherライブラリサンプル for SPRESENSE
Arduino用Etherライブラリの改変バージョンを利用するので、開発環境の立ち上げ方法として2通り用意しました。
- Aプラン: Arduino IDEを利用する
- Bプラン:arduino-cliとdockerを利用する
Aプランはメジャー開発方法が使える反面、ほかにEtherライブラリ依存なプロジェクトがある場合に正常に動かなくなる可能性があります。
Bプランは環境をdockerに閉じて開発を行うスタイルなので、ほかのArduinoプロジェクトとライブラリ依存関係でトラブルことはありません。
Aプランの準備
SWITCHSCIENCE/spresense-ethernet-examples: SPRESENSE Ethernet Addon Examples (github.com) を開いて、以下のCode->Download ZIPをクリック。

ダウンロードしたZIPアーカイブを解凍し、「docker/Ethernet」フォルダをコピーして「ユーザーのDocuments/Arduino/libraries」の下にペーストします。
すでに「Ethernet」ライブラリフォルダが存在する場合は「Ethernet.orig」などにリネームしておいてください。(オリジナルのEthernetライブラリを使うときに元の名前に戻して使ってください)
解凍したアーカイブにはいくつかのサンプルコードがあるのでそちらをArduinoIDEで開いて利用ください。それぞれのサンプルに関する詳細はプランBのものを参照してください。
Bプランであらかじめ必要なもの
- arduino-cli(0.19.0 or later)
- git(2.0 or later)
- python3(3.8 or later)
-
- pyserial(3.5 or later)
- docker for desktop(docker-engine 20.x or later)
SPRESENSE サポートのインストール
shell
arduino-cli config init
arduino-cli config add board_manager.additional_urls https://github.com/sonydevworld/spresense-arduino-compatible/releases/download/generic/package_spresense_index.json
arduino-cli core update-index
arduino-cli core install SPRESENSE:spresense
サンプルの展開
shell
git clone https://github.com/144lab/spresense-ethernet-examples
cd spresense-ethernet-examples/examples
dhcp-clientサンプル
shell
make NAME=dhcp-client PORT=ポート名 build upload
make mon  PORT=ポート名
出力例:
Initialize Ethernet with DHCP:
My IP address: 192.168.2.2
dns-web-clientサンプル
shell
make NAME=dns-web-client PORT=ポート名 build upload
make mon  PORT=ポート名
出力例:
Initialize Ethernet with DHCP:
  DHCP assigned IP 192.168.2.2
connecting to www.google.com...
connected to 142.250.206.228
HTTP/1.1 200 OK
Content-Type: text/html; charset=ISO-8859-1
Date: Tue, 08 Jun 2021 11:08:14 GMT
Expires: -1
Cache-Control: private, max-age=0
P3P: CP="This is not a P3P policy! See g.co/p3phelp for more info."
Server: gws
X-XSS-Protection: 0
X-Frame-Options: SAMEORIGIN
Set-Cookie: 1P_JAR=2021-06-08-11; expires=Thu, 08-Jul-2021 11:08:14 GMT; path=/; domain=.google.com; Secure
Set-Cookie: CGIC=; expires=Sun, 05-Dec-2021 11:08:14 GMT; path=/complete/search; domain=.google.com; HttpOnly
Set-Cookie: CGIC=; expires=Sun, 05-Dec-2021 11:08:14 GMT; path=/search; domain=.google.com; HttpOnly
Set-Cookie: NID=216=hCd9HKSaX6obAAF_bcFW2BsVKjMzysDx0oq6RjtX4GP1T3JEaR06_ScJvAPAuTyIzWwSiXM2H_OhjZNvjS2ZL9gtRb8fzPg6pOKthgXPWiG4OQW592LZv_t7fHM2pfxWQUD_jKuONf_AXhiFS8dfjPvaYyxfNyk4BlfmBAEIirM; expires=Wed, 08-Dec-2021 11:08:14 GMT; path=/; domain=.google.com; HttpOnly
Accept-Ranges: none
Vary: Accept-Encoding
Connection: close
Transfer-Encoding: chunked

...

disconnecting.
Received 121109 bytes in 10.5060, rate = 11.53 kbytes/second
web-serverサンプル
shell
make NAME=web-server PORT=ポート名 build upload
make mon  PORT=ポート名
出力例:
Ethernet WebServer Example
DHCP assigned IP: 192.168.2.2
server is at 192.168.2.2
new client
GET / HTTP/1.1
Host: 192.168.2.2
Upgrade-Insecure-Requests: 1
Accept: text/html,application/xhtml+xml,application/xml;q=0.9,*/*;q=0.8
User-Agent: Mozilla/5.0 (Macintosh; Intel Mac OS X 10_15_7) AppleWebKit/605.1.15 (KHTML, like Gecko) Version/14.1.1 Safari/605.1.15
Accept-Language: ja-jp
Accept-Encoding: gzip, deflate
Connection: keep-alive

client disconnected
new client
GET /favicon.ico HTTP/1.1
Host: 192.168.2.2
Connection: keep-alive
Accept: */*
User-Agent: Mozilla/5.0 (Macintosh; Intel Mac OS X 10_15_7) AppleWebKit/605.1.15 (KHTML, like Gecko) Version/14.1.1 Safari/605.1.15
Accept-Language: ja-jp
Referer: http://192.168.2.2/
Accept-Encoding: gzip, deflate

client disconnected
...
http://192.168.2.2/ の表示
analog input 0 is 552
analog input 1 is 552
analog input 2 is 556
analog input 3 is 556
analog input 4 is 537
analog input 5 is 537
TLSを使うには
https://github.com/OPEnSLab-OSU/SSLClient
- TLS1.2実装
- BearSSLコードを内包
- 接続先対象のルートCA証明書が必要
ライブラリのインストール
shell
arduino-cli lib install SSLClient
docker側にはインストールシナリオを記述してあります。
ルートCA証明書を埋め込んだソースコード生成
アクセス先のサーバー証明書の発行元ルートCAの証明書セットを埋め込んだヘッダーを生成する必要があります。
https://openslab-osu.github.io/bearssl-certificate-utility/
ここにアクセスしてオンライン生成できます。
「Domains To Include」にカンマ区切りでアクセス先のドメイン名リストを列挙してSubmitをクリック。

サイト下部に生成コードが表示されるのでその内容全てをヘッダーファイルとして作成するファイルに保存します。
このヘッダをincludeしてからHTTPクライアントコードの以下の記述を
EthernetClient client;
以下の様に変更します。
EthernetClient base_client;
SSLClient client(base_client, TAs, (size_t)TAs_NUM, PIN_A2);
あとは接続先を「80ポート」から「443ポート」に変更するだけです。
警告について
コンパイル時に以下の様なワーニングは出ますが利用可能な様です。
WARNING: library SSLClient claims to run on samd, sam, tivac, stm32, esp32 architecture(s) and may be incompatible with your current board which runs on spresense architecture(s).
dns-web-tls-clientサンプル
shell
make NAME=dns-web-tls-client PORT=ポート名 build upload
make mon PORT=ポート名
Initialize Ethernet with DHCP:
  DHCP assigned IP 192.168.2.2
connecting to 192.168.2.1...
HTTP/1.1 200 OK
Content-Type: text/html; charset=ISO-8859-1
Date: Wed, 09 Jun 2021 01:57:46 GMT
Expires: -1
Cache-Control: private, max-age=0
P3P: CP="This is not a P3P policy! See g.co/p3phelp for more info."
Server: gws
X-XSS-Protection: 0
X-Frame-Options: SAMEORIGIN
Set-Cookie: 1P_JAR=2021-06-09-01; expires=Fri, 09-Jul-2021 01:57:46 GMT; path=/; domain=.google.com; Secure
Set-Cookie: CGIC=; expires=Mon, 06-Dec-2021 01:57:46 GMT; path=/complete/search; domain=.google.com; HttpOnly
Set-Cookie: CGIC=; expires=Mon, 06-Dec-2021 01:57:46 GMT; path=/search; domain=.google.com; HttpOnly
Set-Cookie: NID=216=Wm2AleSBURCmOWMEu2IMXdg-S1XINl_RTxoKeJI1IUS_t0G_LCyhg_KbKQ7jh9C8Y_BgSVwTUvvR9Y7-93O1rVgHhfJU0vkGOYVIhenZ7K2hjENtOWUXxIcfic8OSEtFsEAavPuHBpBu1iypY27Y7_npyHgnAVQTPcRu595kPIY; expires=Thu, 09-Dec-2021 01:57:46 GMT; path=/; domain=.google.com; HttpOnly
Alt-Svc: h3-29=":443"; ma=2592000,h3-T051=":443"; ma=2592000,h3-Q050=":443"; ma=2592000,h3-Q046=":443"; ma=2592000,h3-Q043=":443"; ma=2592000,quic=":443"; ma=2592000; v="46,43"
Accept-Ranges: none
Vary: Accept-Encoding
Connection: close
Transfer-Encoding: chunked

...
まとめ
- Arduinoライブラリを上書きする様な手法を取るときはDockerにてビルドする様にすると手元の環境を壊さずに済みます
- SPRESENSEに有線ネットワーク機能を付与できる様になるのはIoTデバイスを構成しやすくなるので良いですね!
- 残念ながら、TLS通信を行いたい場合、Wiznet W5500 本体でTLSを扱うことはできず、TCPソケットの外側にTLS処理する実装でラップする必要があります。